

Flexible dentures are typically made from materials such as nylon or polyamide and have been gaining popularity due to their lightness, aesthetics, and comfort. However, when fractures occur, repairs are not as straightforward as with acrylic dentures. This article is dedicated to dental technicians who face the challenge of repairing these structures without compromising their functionality and appearance.
⚠️IMPORTANT: Polyamide does not bond chemically with acrylic or with itself. Therefore, repairs must always include mechanical retention through drilling.
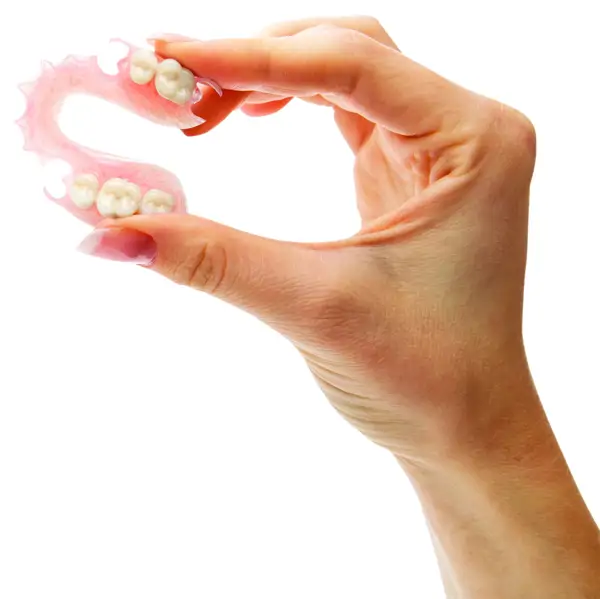
If the polyamide used is too elastic, mechanical retention will not be possible. However, Deflex offers polyamides with different moduli of elasticity.
Repair Process:
Reinjection Repair

1. Lowering the Surface
The first step is to deburr the surface where the repair will be made. Grind the area and make mechanical retentions (drills). The holes should be made in a "dovetail" or "inverted cone" shape. Ensure the retentions are well-made, with the initial hole enlarged with a larger drill bit to ensure good retention.
2. Observation of Withholdings
It's important to ensure the retentions are clean and free of burrs so that the repair isn't visible after injection. Place the denture on the model where the repair will be made and select the tooth that needs to be repositioned. Place retentions in that location as well.
3. Proximal Perforations
Start with the central perforation, then make the retentions in the proximal, distal, and mesial areas. Place the wax, adjust the shape, and then place it in the muffle.
4. Muffle and Insulator
After inserting the repair, install the muffle, following standard procedures. Seal everything, leaving only the wax, tooth, and conduit exposed. Apply the insulation and create the counter-muffle.
5. Washing and Preparation for Injection
Wash off the repair wax. After this, the muffle will be ready, and you can observe the retentions. Prepare the area for injection by applying the insulator, and then injecting the material.
6. Reinjection and Results
The re-injection should reproduce all the wax work, including the conduit and the repair. After the injection, remove the repair from the muffle and observe how it was reproduced.
7. Touch Up and Polish
Proceed with the finishing touch on the vestibular surface. Adjust the shape and thickness of the clamp, and round the edges. After finishing, polish the repair to a shine. The same material makes the repair virtually imperceptible.