

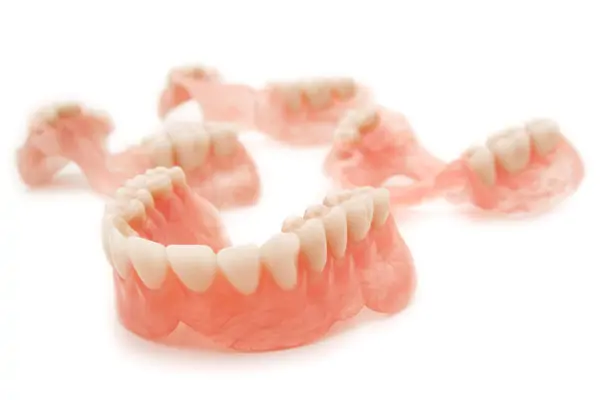
Flexible dentures have gained popularity in laboratory practice due to their aesthetics, comfort, and adaptability. However, polishing these structures requires a specific approach, distinct from that of conventional acrylic dentures, due to the nature of thermoplastic materials (such as nylon or polyamides). Poor finishing can compromise the durability, comfort, and hygiene of the denture. In this article, we'll explore the step-by-step process of polishing flexible dentures, with practical techniques and useful advice for dental technicians .
🧰 Necessary Materials and Equipment
Before you begin, make sure you have the appropriate materials and tools:
Conduit Cutting and Finishing
• Cutting Disc without teeth or Coarse Diamond Stone
• Red Tungsten Carbide Drill Bit with Cross Cut
Remove burrs
Option A
• Steel Brush
• Abrasive polishing rubber
Option B
• Mandrel + Water sandpaper nº240/600/1000/1500
Shine
• Deflex High Gloss Paste
• Cloth Wheel
PPE: safety glasses, gloves and mask
Handpiece
Bench polisher
🔍 Stages of Polishing Flexible Dentures
Cutting the conduits
The first step is to cut the ducts with a cutting disc. The movement should be gentle and lateral to prevent the disc from jamming.
Tip: To remove the remaining ducts and perform the initial finishing, you can use a coarse diamond stone.
After passing this coarse stone, we switch to a finer tungsten bur (red cross-cut tungsten bur). This bur allows us to finish the entire surface of the denture. This gives it the desired shape and thickness, allowing for greater flexibility or rigidity as needed.
In the retentive area, we should thin it slightly, rounding the vestibular margin. In the areas where the clasps rest on the teeth, we thin it even further to ensure greater flexibility and translucency, better integrating with the tooth. We also finish the cervical areas.
Attention: Absolutely no retouching should be done on the inside of the denture. It should fit perfectly on the inside, without the need for adjustments. This ensures a precise fit, without gaps, guaranteeing total comfort for the patient. There should be no gaps between the gums and the denture to prevent the accumulation of food debris and, consequently, gum damage.
Remove burrs
Option A - Burr Removal
Required material: Steel brush, to be used at low speed.
After finishing with the tungsten carbide bur or diamond stone, we remove any burrs with a wire brush. The next step is to polish the prosthesis using an abrasive rubber, which will provide a smooth surface, ready for final polishing.
Abrasive rubbers of two different diameters can be used to reach hard-to-reach areas.
Option B – Polishing with wet sandpaper
Materials: Water sandpaper #240, #600, #1000 and #1500.
Cut into strips 15 cm long by 2 cm wide, place them on a sandpaper mandrel, and roll them. Use at low speed.
This technique, although older, continues to produce good results, especially in the absence of suitable abrasive rubber. The sandpaper is attached to a mandrel, which is then placed on the handpiece.
We start with 240-grit sandpaper, then move on to 600-grit, then 1000-grit. This replaces the use of a brush and pumice stone. We finish with 1500-grit sandpaper, which is extremely fine, leaving the prosthesis practically polished and shiny.
Sandpaper #1000 and #1500 can also be used as an alternative or complementary method to pumice stone.
Final shine
Material: High Gloss Paste
Turn on the bench polisher and apply a small amount of polishing paste to a cloth wheel.
The prosthesis must be very clean (free of pumice residue) and dry. Apply a small amount of the paste to the cloth wheel—just two or three quick strokes, avoiding impregnating the wheel. Polish with horizontal, intermittent movements to avoid overheating the material.
Finally, thoroughly clean the denture. It's now ready to be delivered to the dentist.
💡 Golden Tips for Quality Polishing
• Less is more: Avoid excessive pressure and high rotations.
• Use compatible products: Always consult the material manufacturer’s recommendations.
• Avoid heat: Excessive friction can deform the material. Take frequent breaks.
• Finish with a natural shine: The finish should be smooth to the touch and have a uniform shine.
• Educate the patient: Provide guidance on cleaning and maintenance of the prosthesis after polishing.
📌 Final Considerations
Polishing flexible dentures isn't just a matter of aesthetics, but also of functionality, hygiene, and patient comfort. Well-trained technicians who are attentive to the process ensure more durable and well-tolerated dentures. With the right tools and attention to detail, polishing becomes a top-notch step in the laboratory.
Good laboratory practices!
Would you like to know more about the products to be used?
Contact us!